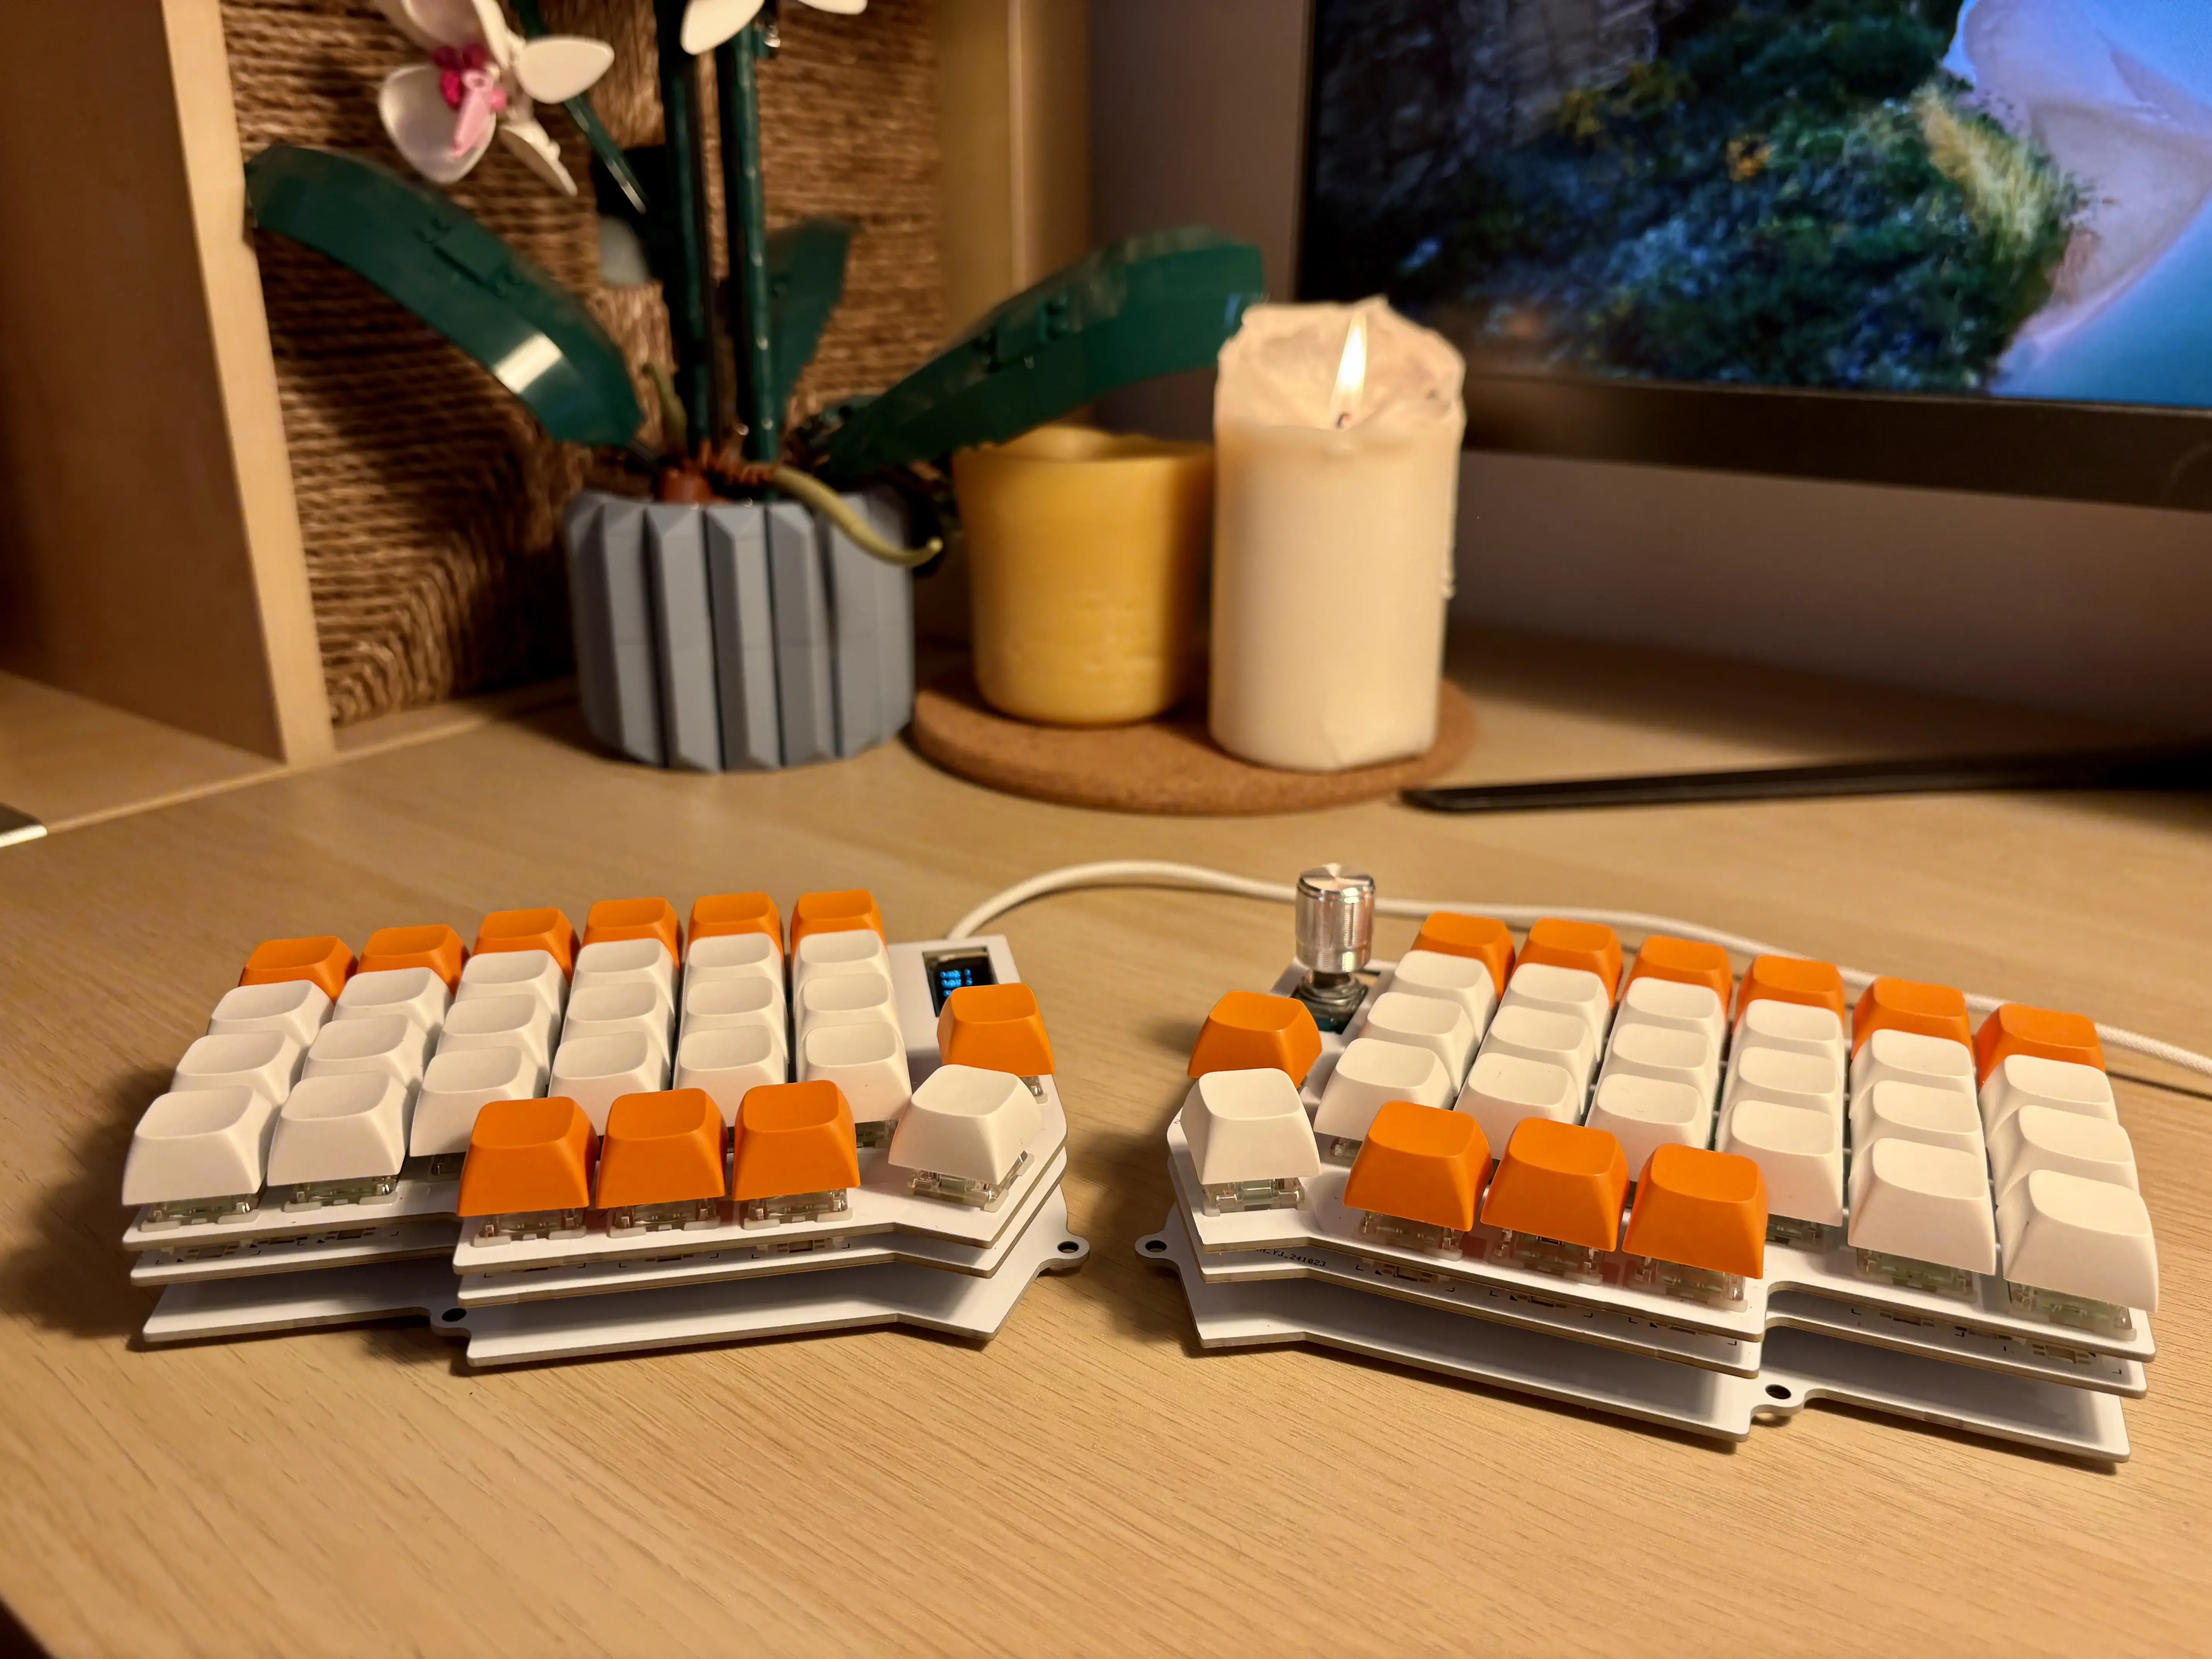
As a Gen Z software engineer with a passion for electronics, I’ve always believed that the tools we use should be as unique as the code we write. After years of soldering PCBs for various home automation projects, I decided it was time to tackle the ultimate maker challenge: building my own split mechanical keyboard from scratch.
Why Build a Custom Keyboard?
Look, we spend countless hours typing away at our keyboards, debugging that one pesky function that just won’t behave. So why settle for an off the shelf solution when you can craft something that’s perfectly tailored to your typing style? Enter the Lotus 58, an open source split keyboard design that caught my eye with its elegant minimalism and endless customization possibilities.
The Build Specs
Here’s what I went with for my build:
- Base: Custom modified Lotus 58 PCB (with a sneaky “Darsh’s Lab” copper trace signature!)
- Switches: Gateron Baby Kangaroo (MX Compatible), because who doesn’t want their keyboard to feel like typing on clouds?
- Keycaps: XDA Profile blanks, keeping it clean and minimal (yes, I touch type!)
- Brain: Raspberry Pi RP2040, because why not have a keyboard that could theoretically run DOOM?
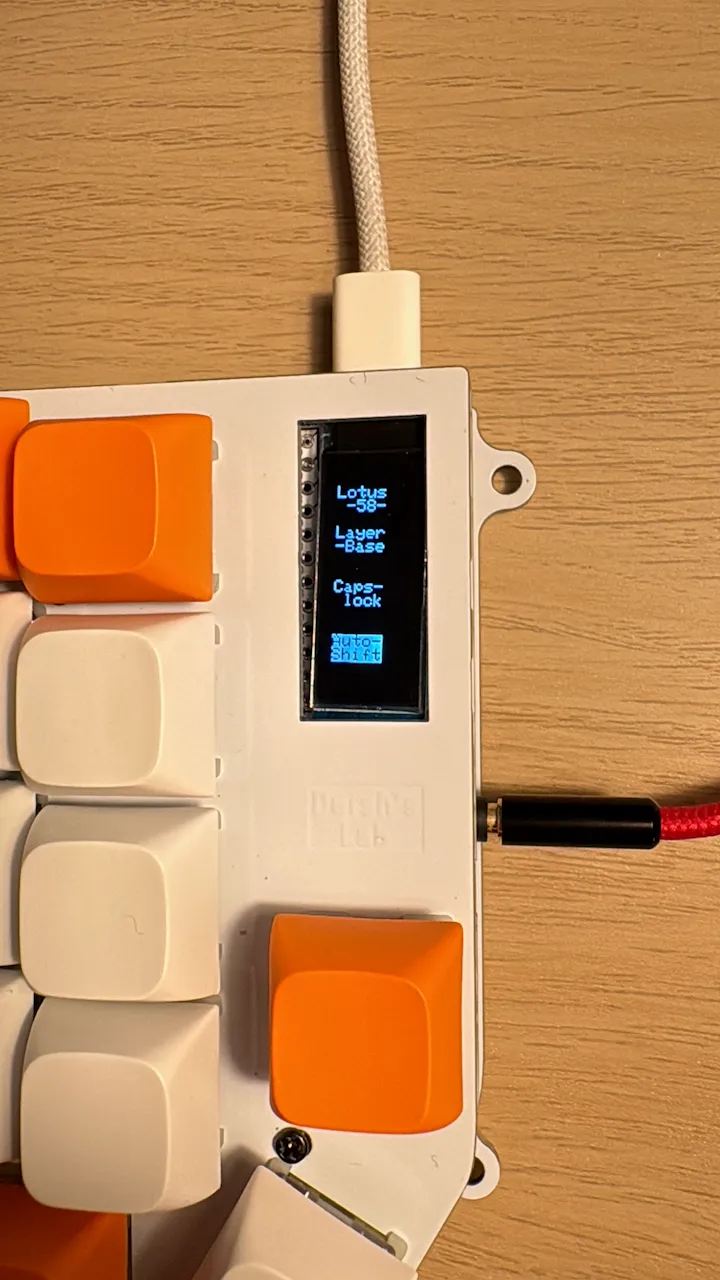
- Extra Flair: OLED displays and a rotary encoder, because why not add some programmable bling?
The Building Process
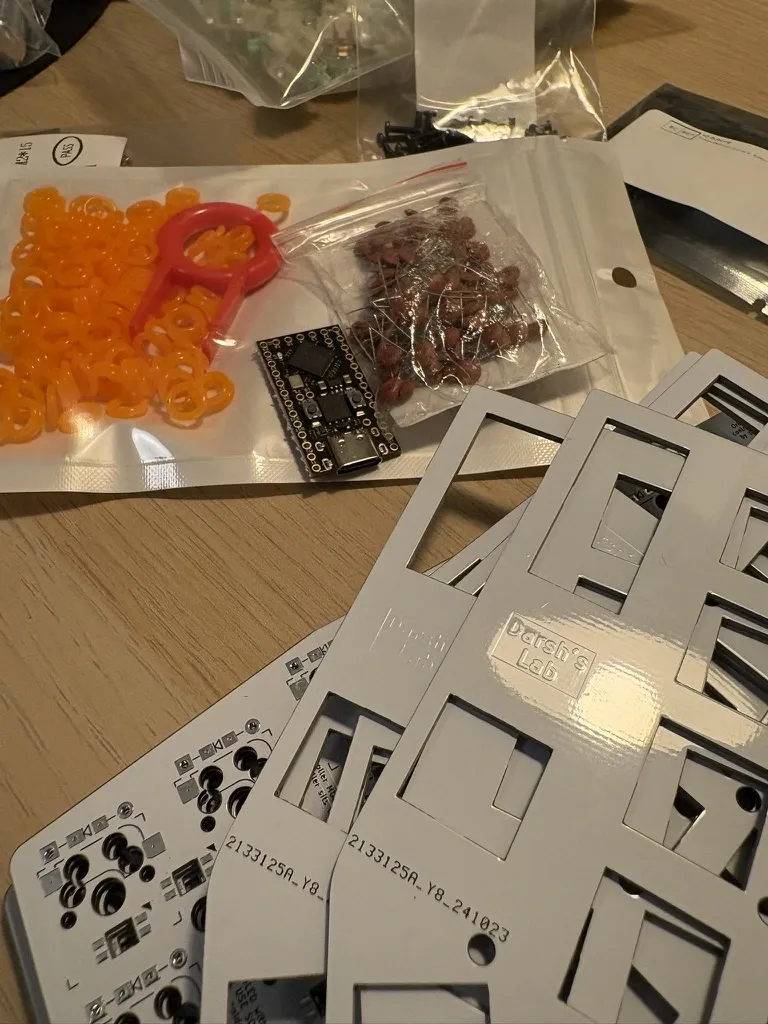
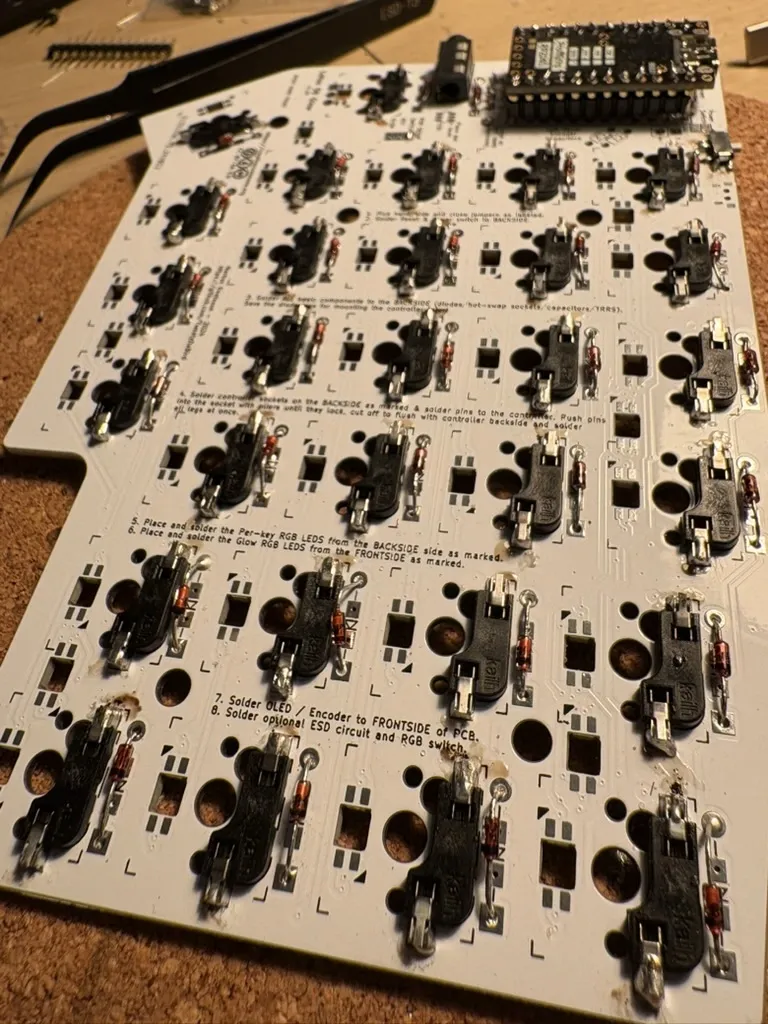
Having previously built PCBs for my home automation systems, I thought this would be a breeze. The journey started with customizing the PCB design in KiCAD and adding my personal touch with a “Darsh’s Lab” embossed copper trace. Then came the classic maker’s dilemma with JLCPCB: their minimum order of 5 PCBs meant I essentially ordered enough for 2.5 keyboards! But hey, at those prices, who’s complaining? Plus, now I have backup boards for when I inevitably decide to build another one.
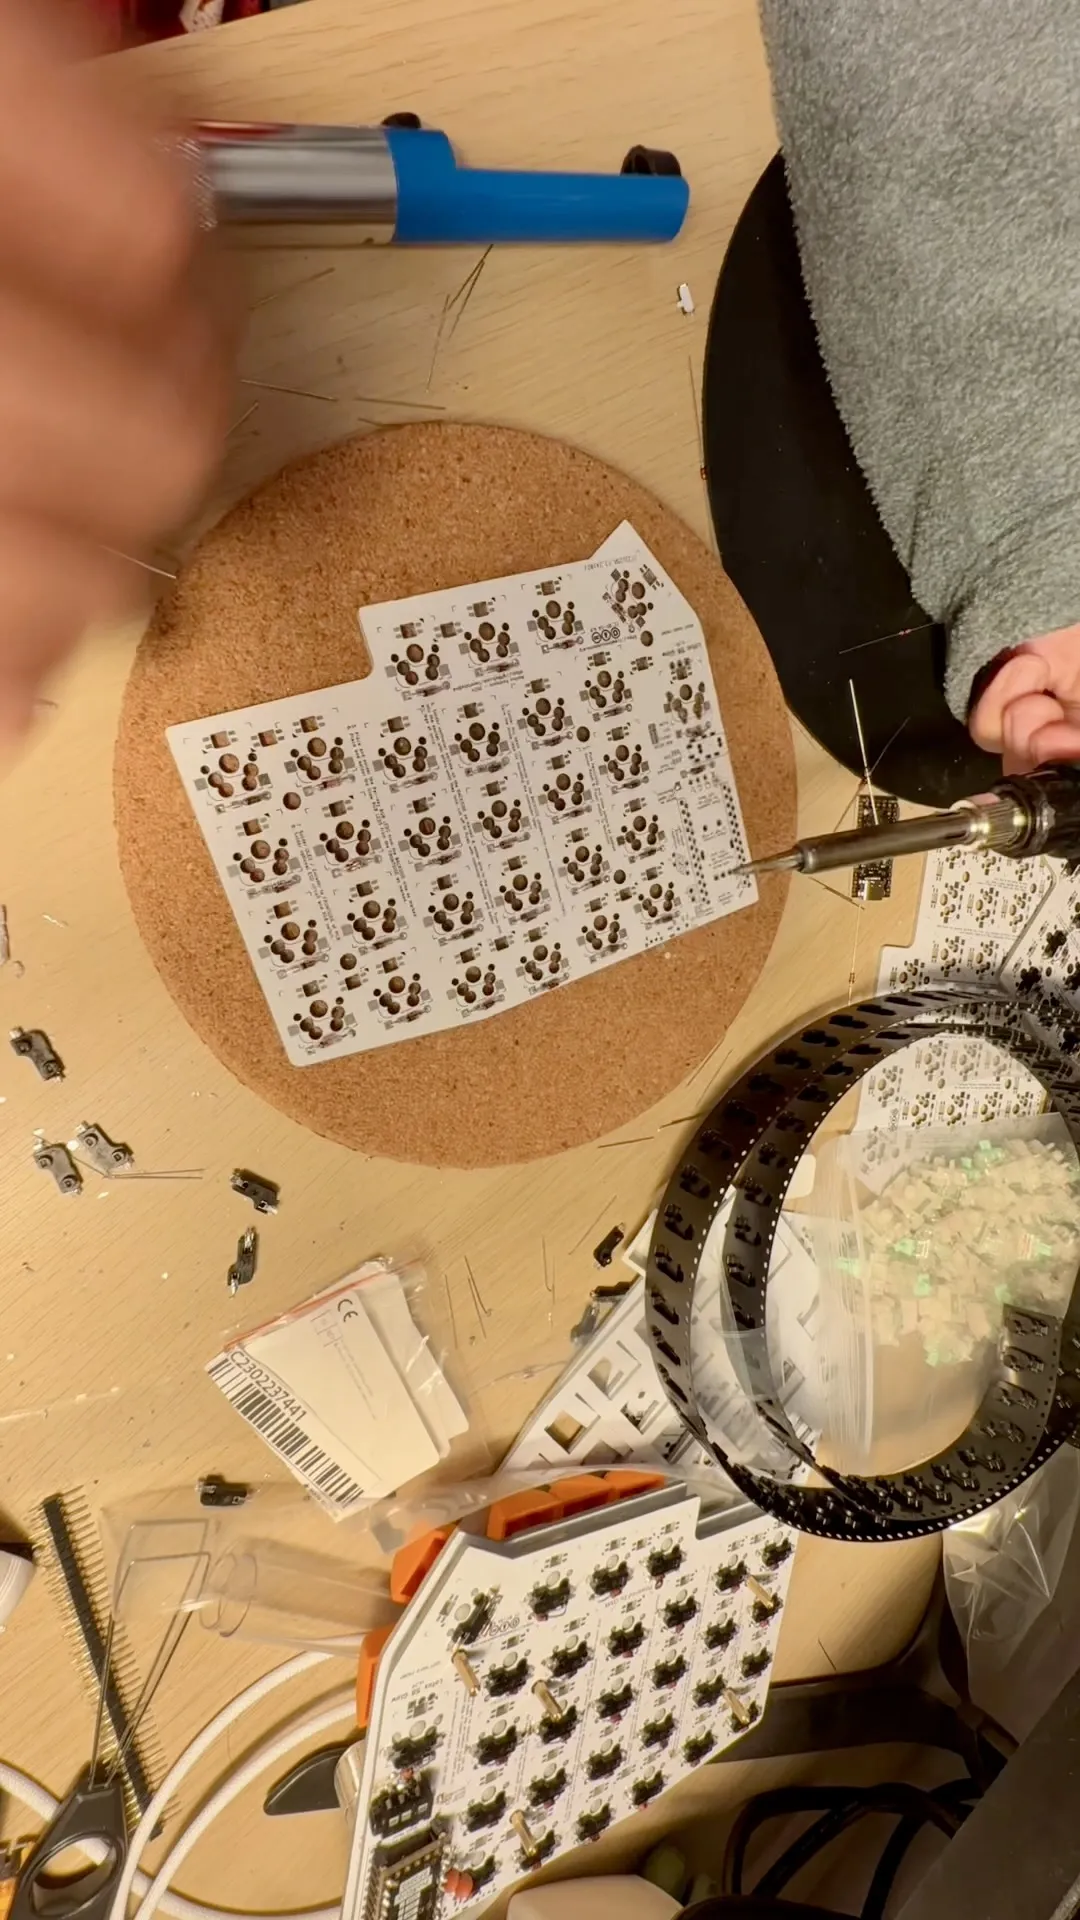
Fun fact: The extra PCBs turned out to be a blessing in disguise. Let’s just say my first attempt at soldering the RP2040 was… educational. Remember folks, measure twice, solder once!
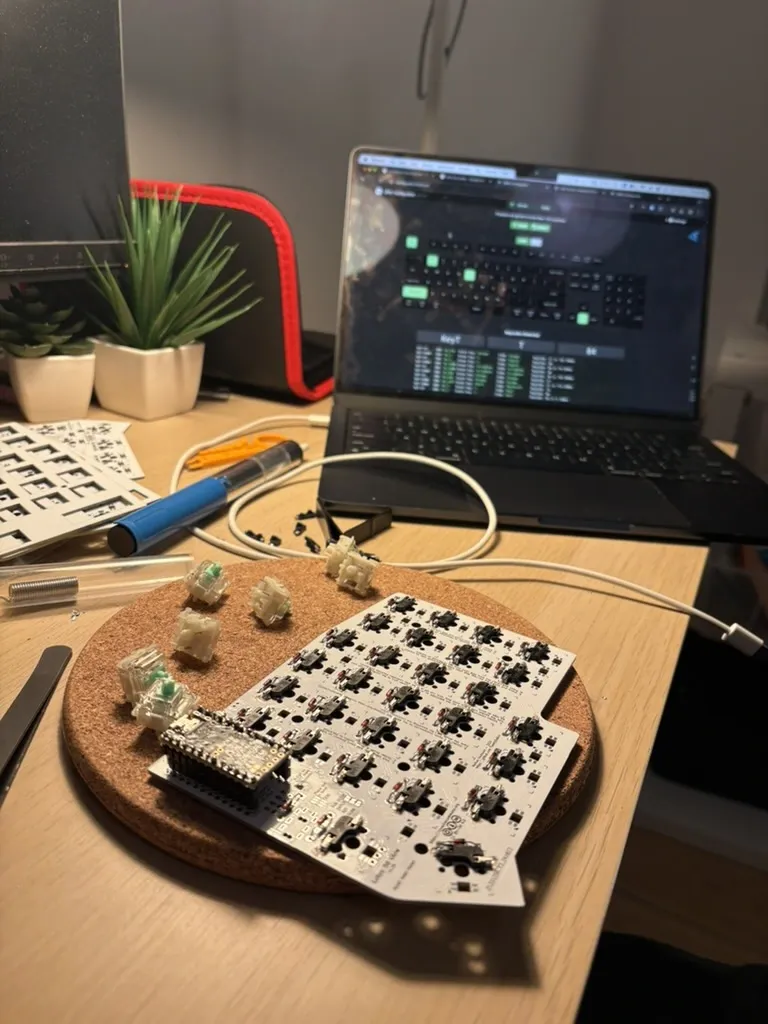
The three layer PCB design gives the keyboard a substantial feel. It’s like typing on a piece of engineering art. Though I must say, soldering in a German November wasn’t exactly tropical! Nothing quite like soldering with windows open in near freezing temperatures! 🥶
Each solder joint was a small victory, especially when working with the RP2040 pins. The choice of the RP2040 was deliberate. Not just because it’s powerful enough to theoretically run DOOM, but there’s something satisfying about saying your keyboard runs on a Raspberry Pi.
📸 Build Photos

QMK: Where the Magic Happens
The real fun began with QMK firmware configuration. I’ve got my own QMK fork on my GitHub profile where I maintain my custom keymap. As someone who spends their days writing code, creating my own keyboard layout felt like the ultimate form of customization.
The QMK community never ceases to amaze me with their innovations. Want to free yourself from the tyranny of the SHIFT key? Auto Shift has your back. Just hold any key a tad longer, and boom, it’s capitalized! No more finger gymnastics required. Combine that with Grave Escape (giving your Escape key double duty as a backtick when needed) and Mod Tap (keys that do one thing when tapped, another when held), and suddenly your fingers barely need to leave the home row.
I’ve set up multiple layers:
- Base layer: Standard QWERTY with a full number row
- Upper layer: Media controls, special characters and numbers from base layer
- Lower Layer: Full numpad and function keys
But wait, there’s more! The QMK community has cooked up some seriously impressive features. There’s even an autocorrect function now (because why should smartphones have all the fun?). And don’t get me started on Key Dance. Letting a single key do different things based on how many times you tap it is like having a secret handshake with your keyboard!
The OLED displays now show my current layer and WPM count, a small detail that makes the keyboard feel alive. I’m still tweaking the displays to show more useful info. Maybe a git branch indicator next?
The Result
After several nights of soldering, programming, and a few moments of “did I just brick my microcontroller?” panic, I finally have my perfect keyboard. The 58 key layout hits the sweet spot between minimalism and functionality, and those Baby Kangaroo switches… chef’s kiss
The split design has done wonders for my posture, and the programmable layers have significantly improved my coding workflow. Plus, there’s something satisfying about telling people that yes, I built this keyboard from scratch, and yes, it runs on a Raspberry Pi!
Special thanks to “Auto Shift”, I am no longer enslaved by a SHIFT key!
What’s Next?
Those extra PCBs from JLCPCB are calling my name, and I’m already plotting my next build. I’m thinking wireless this time. Maybe integrate some nice!nano controllers for that sweet, sweet Bluetooth action? I’ve been geeking out over ZMK firmware documentation lately, and the idea of a fully wireless split keyboard with encrypted communication between halves is too tempting to resist. Plus, imagine the flex of casually mentioning that your keyboard uses military grade encryption! 🤓 (Update: Made a wireless version of the keyboard with ZMK firmware, here’s my ZMK Config)
I’m also toying with the idea of adding an e ink display to show system stats, because why stop at OLED when you can have a keyboard that doubles as a system monitor?
For now, though, I’m enjoying the satisfying clicks and the pride of typing on something I built with my own hands. If you’re curious about my custom QMK configuration, you can check out my fork on GitHub. And if you’re thinking about diving into the world of custom keyboards, just remember: the first solder joint is always the scariest, but it gets easier from there!